Sharpen your tie dye techniques by learning some advanced patterns. Read the HobbyZeal article to find out what these patterns are, and how it can be done properly.
Summers have always inspired me to wear 2―3 colors at the same time. But it’s pretty difficult to do so without looking like a clown. And keeping this in mind, I am thankful to India, Japan, and Africa as they were the first few cultures who invented and adopted the art of tie dyeing. With over 5000 years of history in tie dyeing, it’s no surprise that this colorful craft has spread all across the world. In this article, we have put together tips for making and using different patterns that will turn your boring, plain white t-shirts into works of art.
Different Tie Dye Designs
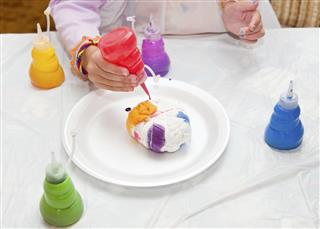
In order to learn the techniques, understanding the basics of this type of t-shirt printing is essential. First of all, you need to get prepared-for-dye or blank t-shirts that are 100% cotton. Select a ventilated work area, get mixing bottles with control cap, and lots of rubber bands. While using folding techniques, make sure you get good washable fabric markers to draw the patterns. Use one or as many colors as you like to make your personalized and super-creative t-shirts.
Pleats
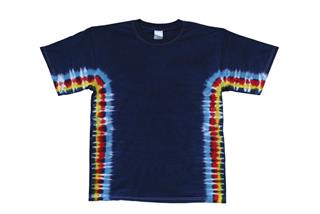
- Place the t-shirt on your workstation, and start folding 1 inch from the bottom and come upward.
- Use your fingers as you fold the t-shirt; keep squeezing the pleats between your fingers and thumbs like an accordion.
- Use rubber bands at 1″ intervals, all across the length of the t-shirt.
- Place the t-shirt in a light color first. Rinse it under cold water till the water is running transparent.
- Remove the rubber bands, and pinch the t-shirt in opposite direction (vertically), but in similar manner. Place rubber bands again at 1″ intervals.
- Now use a darker color, and again rinse the t-shirt under cold water till the water is running transparent.
Bull’s-eye
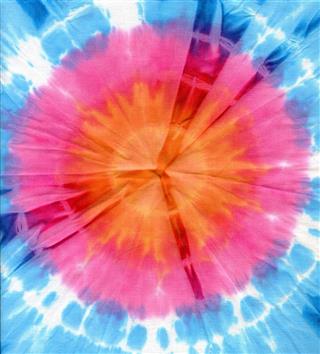
- Place the t-shirt on your workstation, and pick it up from the middle and place a rubber band about 2″ under the middle point.
- Go down 2″ from the first rubber band, and tie another one.
- Keep gathering the cloth as you tie the rubber bands over the t-shirt.
- Now place the t-shirt in your choice of color dye, and rinse it under cold water till the water is running transparent.
Twist
- Hold the t-shirt from one side/corner, and start twisting it from the other side.
- It should look as if you are twisting the t-shirt like a rope. Use rubber bands to tie both ends together.
- You can make more colorful lines between the twists. Just tie rubber bands across the length of the t-shirt.
- Dye the t-shirt in a light color, and rinse it under cold water till the water is running transparent.
Bubbles
- Keep a small marble in the middle of the t-shirt.
- Collect the t-shirt from around the marble, and tie a rubber band underneath it.
- Place more marbles over the t-shirt at random places. Tie more rubber bands so they don’t fall out while dyeing.
- Add as many marbles as you want for your choice of design.
- Place marbles in the sleeves and collar as well. Dye the t-shirt in your choice of colors, and rinse under cold water till the water is running transparent.
Splatter
- Collect your t-shirt in a tight round ball.
- Tie several big rubber bands all around the t-shirt, that too in different directions.
- Now dye the t-shirt in your choice of colors, and rinse under cold water till the water is running transparent.
Now that you know the procedure, try the same techniques to dye other clothing as well. Go crazy if you want with the patterns. Wear them at the beach, or on a hot summer day; and don’t forget those compliments.
