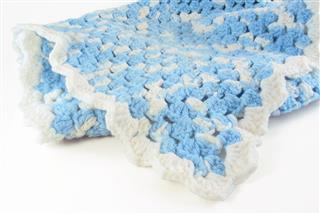
Making a rag quilt is not only easy, but will serve as a cozy, comfortable quilt for many years to come. In this HobbyZeal article we tell you how to make one.
I am sure everyone has their own favorite bedding that they cannot sleep without. I have a rag quilt that my grandmother made for me when I was a baby. Now, after 21 years I still use the same rag quilt. Shocked? Well, don’t be, cause this is the specialty of a rag quilt. It is made up of numerous small rags that are stitched together to make a large-sized quilt.
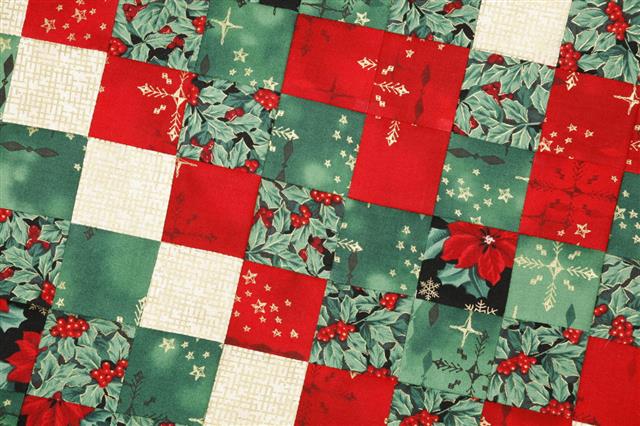
Nowadays, it is made by rags of equal size, that have repetitive designs sewn in a pre-designed pattern. The most common pattern is an alternate pattern, in which there are equal-sized rags of two or three designs. These are sewn one after the other; either vertically, horizontally, or diagonally. Most of the time, rags of contrasting colors are used, though some prefer using rags of different shades of the same color.
Making a Patchwork Quilt
First of all, decide the fabrics you want to use to make the quilt. If you want to make a thick quilt, you will require more than 3 different fabrics, or you can make use of a suitable batting. The most common fabrics used are flannel, denim, and cotton. Also, there are various tools for quilting available to help you in this process.
Step 1
First and foremost, decide the size of each piece. You can cut a paper/cloth template for reference. By placing it on the fabric material, cut same-sized pieces of the fabric. Generally the pieces are square, but you can cut them into any shape you want. If you are using batting or filler, you will require double the number of pieces to make a cover for both the sides.
Note―Step 2 and 3 should be followed if you are making use of batting or filler material, else move to Step 4.
Step 2
Cut the batting material in the same shape, but of a smaller size (at least one inch smaller, on each side) than the fabric pieces. If you are using other fabrics as fillers, then you can cut them to the same size as the outer fabric pieces. An alternate method that can be applied if you do not want to cut the batting pieces, is to stitch the outer fabric pieces directly over a continuous batting material, or make the top fabric layer separately and sew it over the batting, simply as a cover.
Step 3
Now, place one piece of fabric (wrong side up), a batting piece, and another fabric piece (right side up) one above the other in a sandwich pattern. Sew them along both the diagonals (X-shaped) only up to the batting piece. A half-inch edge difference should be maintained on all sides for the outer fabric pieces when the batting is being sewn. Repeat Step 2 and 3 till all the pieces are done.
Step 4
Arrange all the pieces in the pattern you want your final quilt to look like, and start sewing the pieces together. If you want your quilt to have a frayed appearance, sew the upper fabric pieces such that the one-inch seam of all the pieces form a vertical border around that piece. When all the pieces are stitched together, the seams will form small areas marked by the borders on the quilt. Otherwise, you can stitch the seams overlapping each other, forming a flat surface.
Step 5
To further fray the quilt, give vertical cuts to the boundary-like edges with a pair of scissors or simply wash the quilt in the washing machine. While washing in a washing machine, be prepared to clear out the strings that get stuck in the washer or dryer.
You can also mix many rags of different types of fabric together, to make a nice big quilt. A very unique and different quilt making idea is to make a patchwork quilt, in which you can collect rags of your favorite designs, and assemble them in a creative way, such that it depicts a realistic scenery, like a rag with a tree drawn over it, another one with a waterfall or sky, and so on. Sew all of them together to create a natural scenery.
A mosaic quilt is a good example of patchwork quilting. It is the easiest pattern of rag quilting since you need not cut same-sized pieces of the fabric. Bits and pieces of different sizes, shapes, colors, designs, and fabric-types are sewn together, such that you do not have to cut the rags at all. The opposite side of the quilt will display an overlapping structure of rags. This is the side which will be in contact with your body. So, to avoid the rough texture caused by overlapping, you can stitch a plain, smooth continuous piece of cloth over it. Now, one side will be rag patterned, whereas the other side will appear smooth.
Use your creativity to make the rag quilt, and your homemade item can turn out to be better than commercial quilts.
