Embroidery is an intensely absorbing art, that has captured the attention of millions. Letters can be embedded into fabric by embroidering them over it. We have provided you some simple techniques on this. Read on.
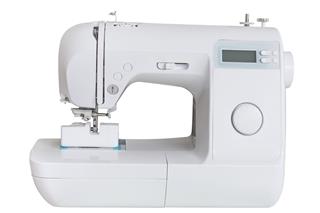
Embroidery is an exquisite art form that reflects tradition of versatile ethnic groups. The handicrafts containing elaborate designs are still considered to be masterpieces and this skill is indeed God-gifted. Although handmade embroidery works are still valued utmost, use of machines to craft the designs have made the work much easier. A regular sewing machine can also be used for etching those beautiful designs on fabrics if you do not have an embroidery sewing machine at home. Here, we shall confine ourselves only to embroidering letters with a regular sewing machine.
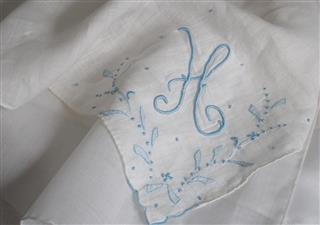
Embroidering letters, quotes and scripts is comparatively tough due to their shapes and sizes. You can sew in the name or the initial of the person in one corner of the handkerchief for the purpose of gifting. The same idea can be used for creating a monogram on your favorite T-shirt or imprinting your name on your Christmas socks. These are some of the trendy ways to uplift your fashion by blending tradition with contemporary. A woolen scarf, jacket or a pullover can also be customized this way. Embroidery works with letters are also found in stationery goods, like bookmarks, zipper bags, pouches, etc. So these were some common materials where even a simple embroidery can accentuate the overall appeal.
Trace the Letters
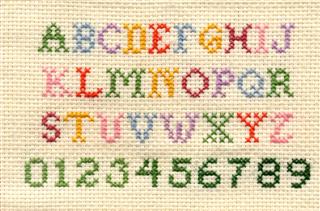
Use a pencil or a marker pen to trace the letters on the piece of fabric. You can browse different types of fonts over the Internet and select a font that would make it look prominent. Try with block or big letters first and then move on to complex fonts, once you get a grip on the sewing machine. Sketch the letters first on tracing paper if you are incorporating multiple designs and complex sentences and then transfer the design on the fabric.
Thread the Needle
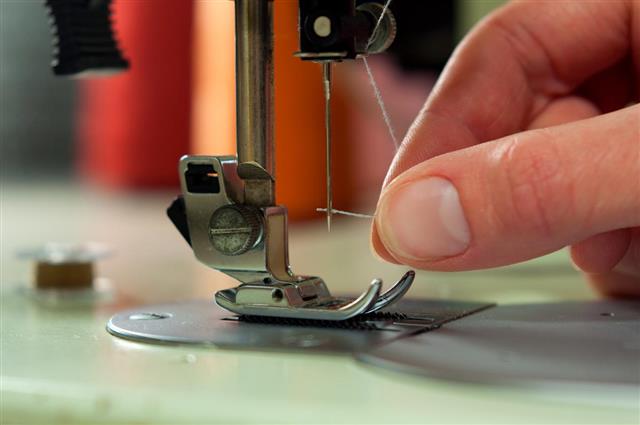
A regular sewing machine is always equipped with a needle and you need to pass the thread through its eye. The choice of thread depends on the background of the embroidery design. Make sure that the thread you are using for practice is strong, or else it will tend to break in between. The instructions for using the sewing machine will be provided in the manual and you must read it before handling the machine.
Adjust the Needle
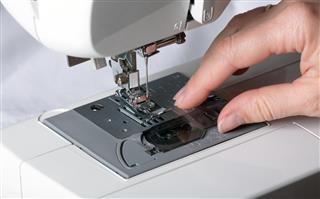
For the first time, you might find the arrangement of the needle with other equipment a little tricky. Adjustment of the feed dog is important as it helps in advancing the cloth on application of pressure. Electronic sewing machines are much more convenient than the traditional machines. Now lower the needle so that it comes in contact with the cloth.
Place the Cloth
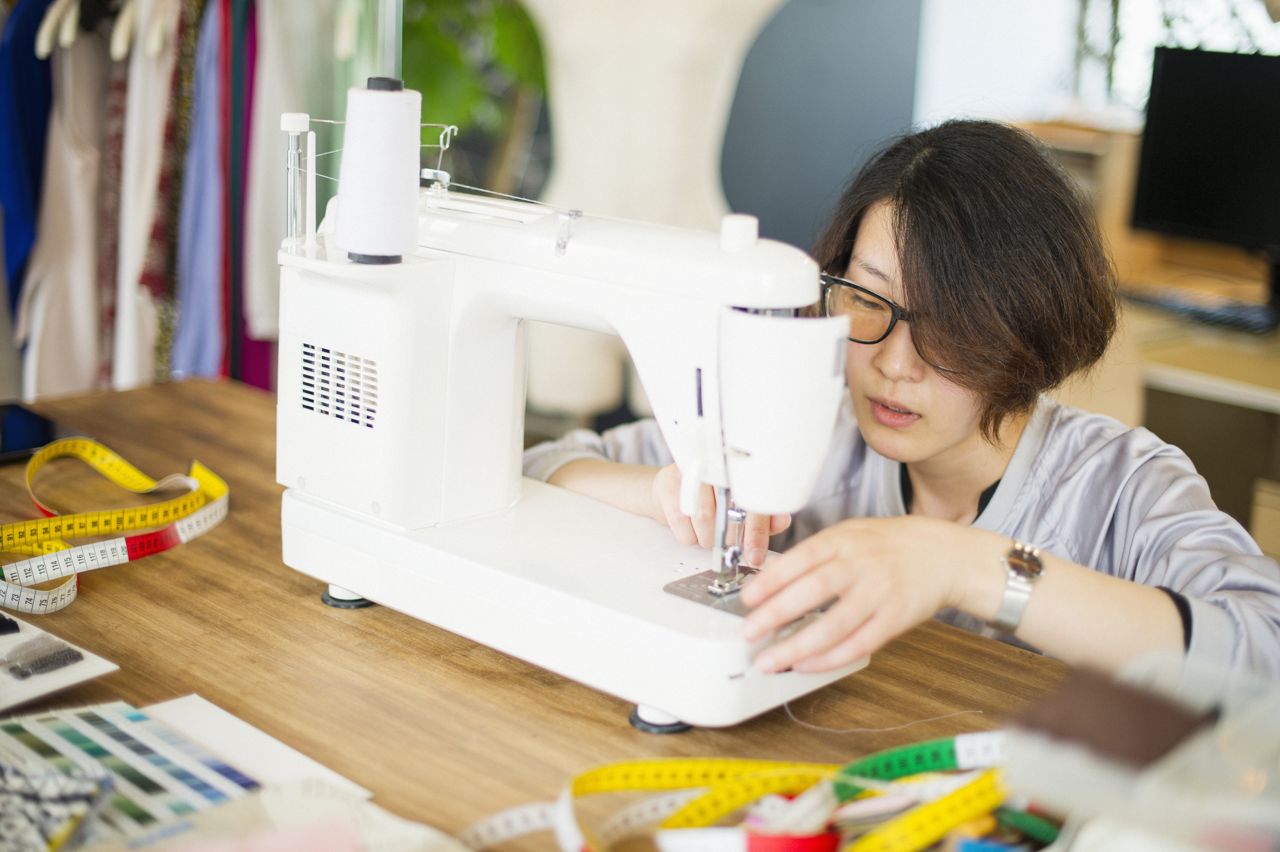
Now you have to place the cloth underneath the needle so that the designs gets embroidered while moving the cloth and the needle at the same time. Place the front side (containing the design) facing the needle as it will help you to see the design and you can sew accordingly. Lower the needle and then start stitching. You have to keep the cloth and the needle moving simultaneously to fill the outline of the letters and proceed to the next. This step is definitely tough and you need practice to attain perfection.
I hope after reading this content you have got a fair idea on how to embroider letters with a regular sewing machine. The work involves a great deal of patience and practice and it should not be regarded as an overnight’s affair. Once you have mastered the technique, you can expand your creativity and come up with explicitly new designs. Combine colors and create textures by incorporating different varieties of threads. Put more emphasis on clarity and precision because the letters that you engrave must be expressive and understandable.
